In this tutorial I will be illustrating how to append queries in Power Query. Appending two or more queries in Power Query is one of the most basic and essential tasks that you may need to do in most data preparation scenarios because as a data analyst you may have multiple queries of which you may need to combine to form a single query. Using power query append operation, you can create a single query by adding the contents of one or more queries to another.
When queries are appended the rows from one query are appended (or added) ) at the end of the rows in another query where the column values match. When a query with 30 rows is appended with another query with 20 rows, this will return a resulting query with 50 rows. In the case of two queries that do not have the same column headers, all column headers from all queries are appended to the resulting query. To append two queries we need data so let now load the data November_2019 and December_2019 below using Power BI.
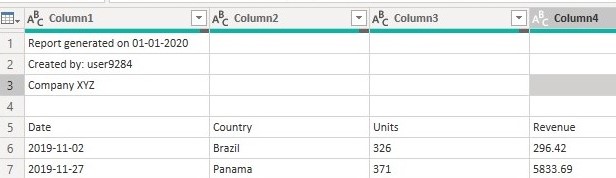
November_2019
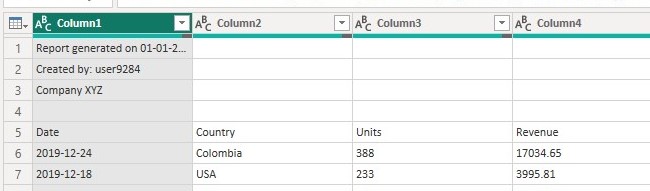
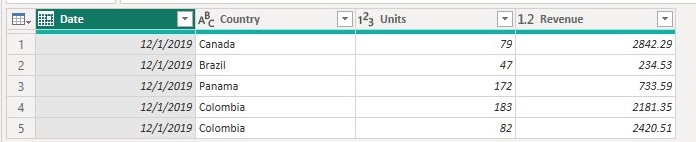
December_2019
Preprocessing the Data
From the November_2019 data above the first fours rows contain data not relevant to our analysis so we need to remove them.
To remove the first four rows in power query
- click on the home tab.
- Under the Reduce Row group click on Remove Rows as below.

3. From the drop down list select Remove Top Rows.
4. In the Remove top rows window, enter 4 in the Number of rows box as below.
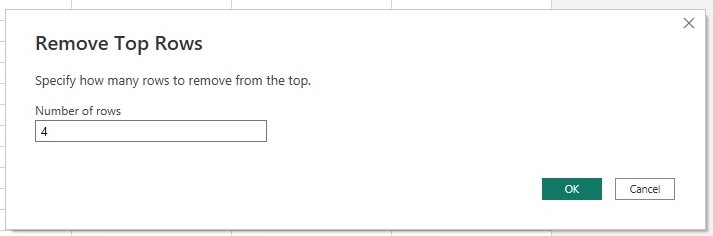
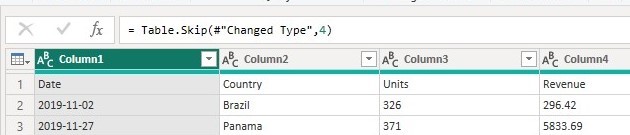
After clicking ok the operation leaves the headers of the table as the first row shown below.
Promote Headers Operation
The promote headers operation promotes the first row of values as the new column headers. There are a number of places where we can select the promote headers operation (Use First Row as Headers )
Click on the Home tab then in the Transform group

Or On the Transform tab, in the Table group.
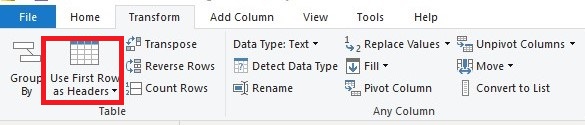
After clicking on Use First Row as Headers, the first row in the query is used as the column headers of the query and we get the table below

For simplicity we will sort the data based on Date column in ascending order and use only the last 5 rows in the table.
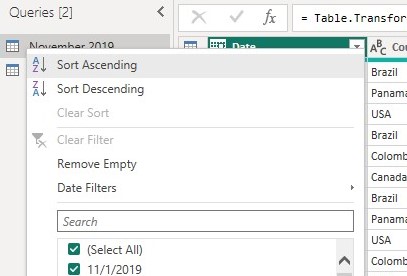
Sorting Data
to sort the data based on the date column click on the drop down arrow in date column and select Sort Ascending as below
Filtering the Data
To filter the data to contain only the last five rows
- click on the home tab.
- Under the Reduce Row group click on Keep Rows as below.
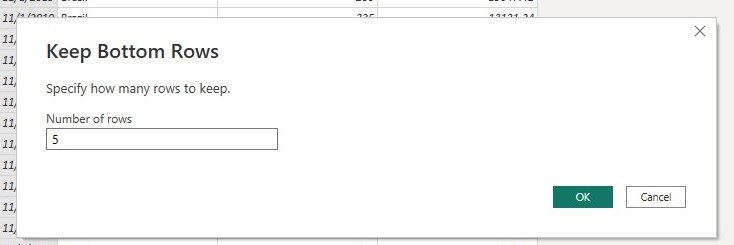
- From the drop down list select Keep Bottom Rows.
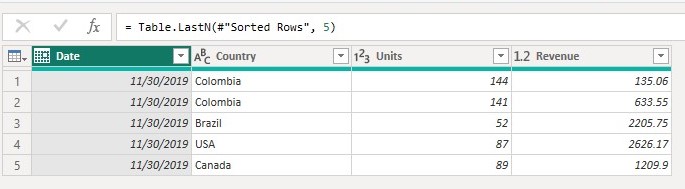
- In the Keep Bottom rows window, enter 5 in the Number of rows box as below.
to get the table below
Processing the Second table (December_2019)
In the second table we will apply the same steps used in preprocessing the first table but instead of keeping the last five rows we will keep the top five rows which will give us the table below
Appending Queries
The append operation requires at least two tables. The Append queries command can be found on the Home tab in the Combine group.

On the drop-down menu, you’ll see two options:
- Append queries: which displays the Append dialog box to add additional tables to the current query.
- Append queries as new : displays the Append dialog box to create a new query by appending multiple tables
The Append dialog box has two modes:
- Two tables: Combine two table queries together. This mode is the default mode.
- Three or more tables: Allow an arbitrary number of table queries to be combined.
Now let append the November_2019 and December_2019 data as a new query. To append these tables, first select the November_2019 table and on the Home tab, select Append queries as new.
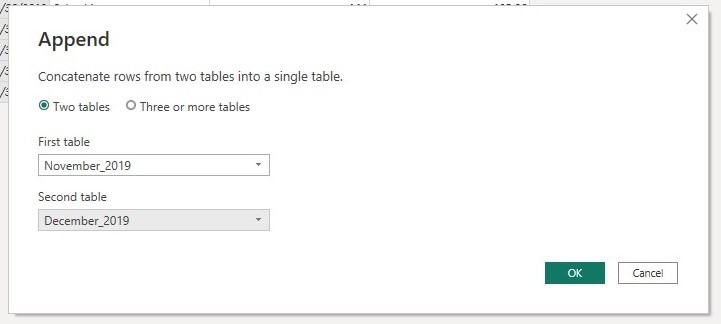
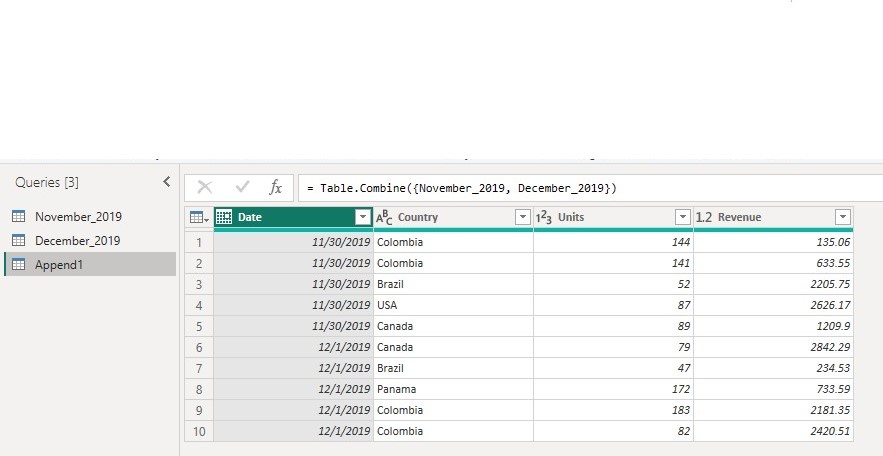
In the Second table dialog box select the December 2019 data and click ok. After clicking ok a new query named Append1 which contain the total number of rows in December_2019 appended to that of November_2019 as below
Note: In the event that one table doesn’t have columns found in another table, null values will appear in the corresponding column